Make Climate Protest Art
Unleash the power of artivism! Activist art is all about ‘doing’, it is not just about addressing the political and social issues that affect you, but thinking about others who you can help.
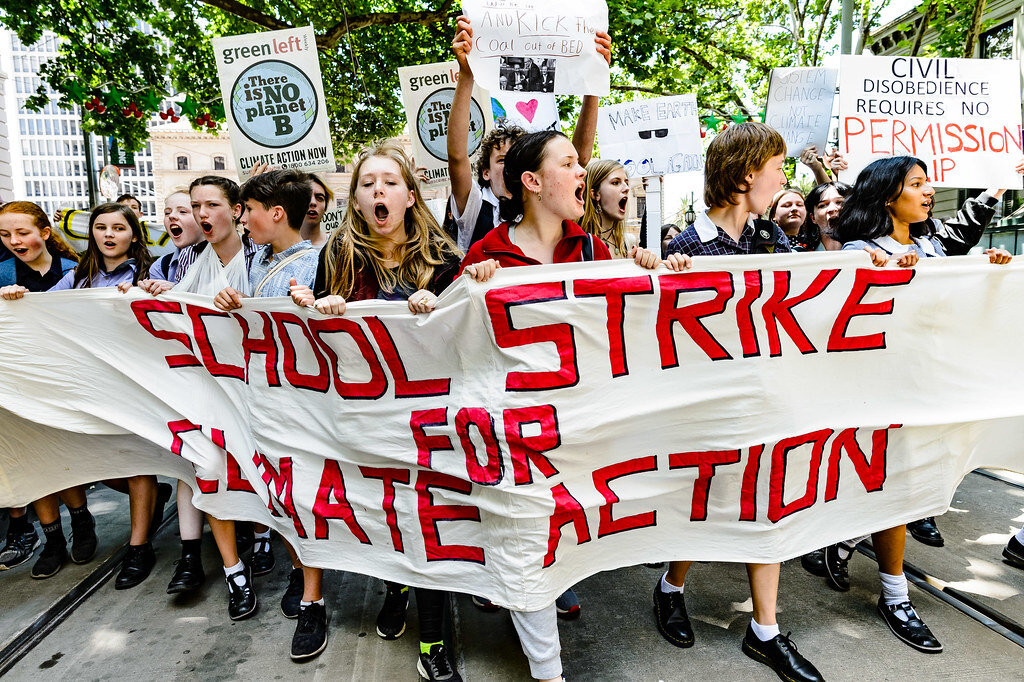
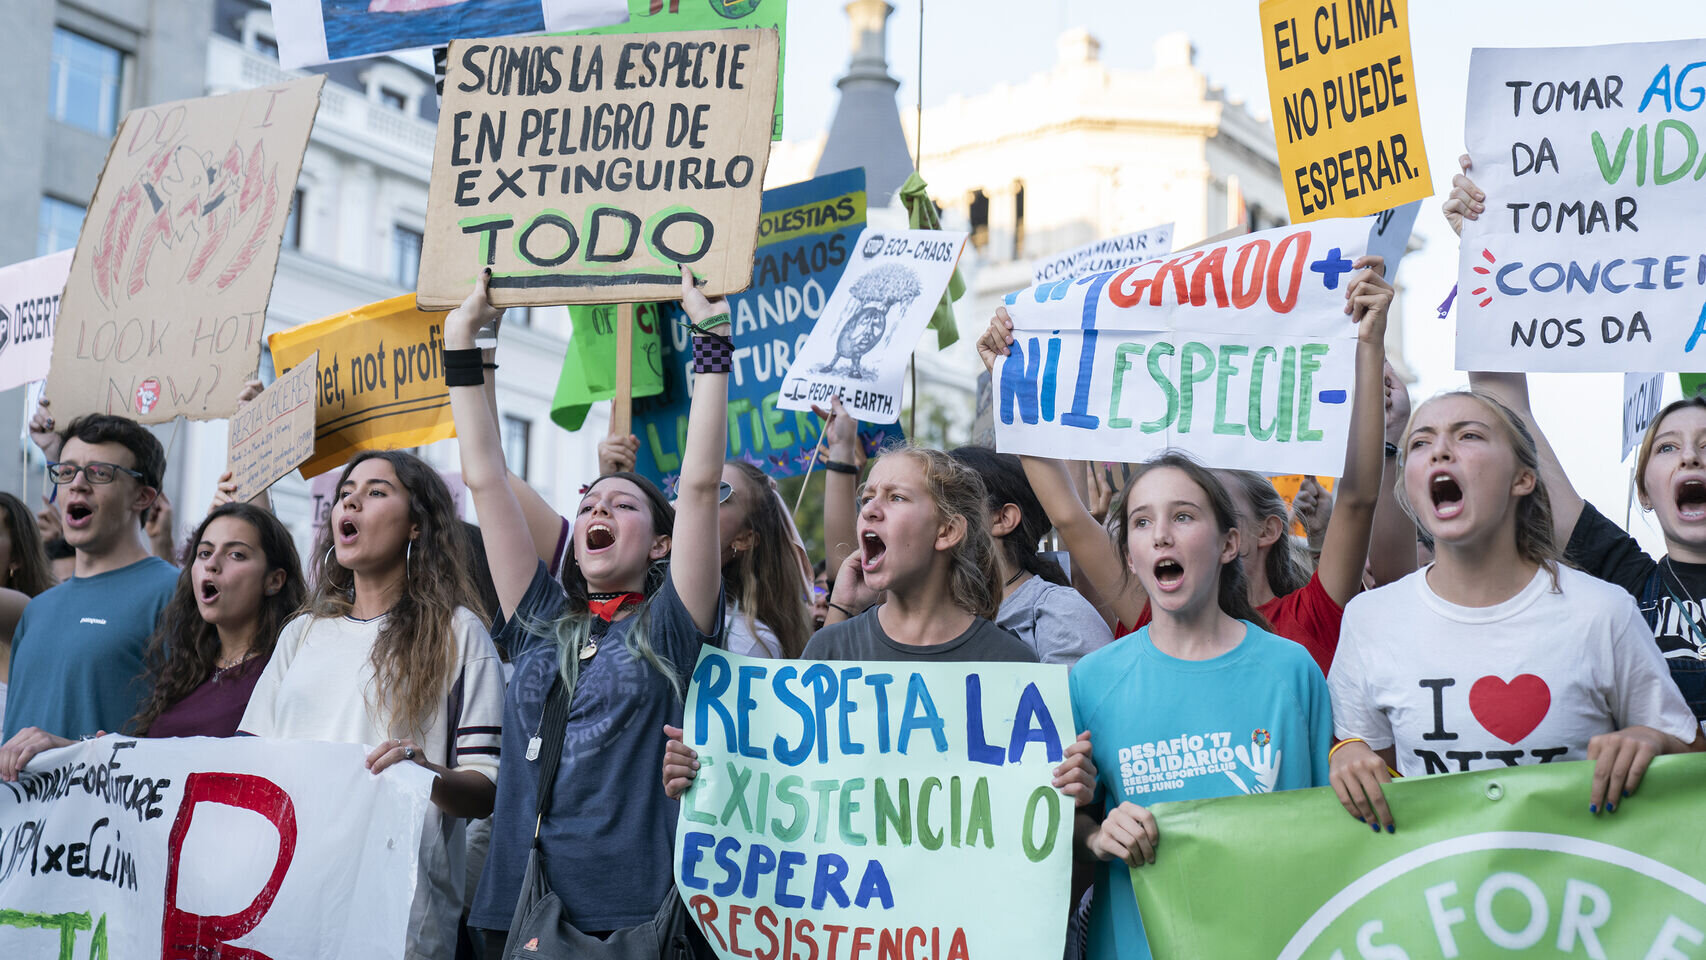
In 2018, Greta Thunberg started the School Strike for Climate, or ‘Fridays for Future’, protest. Greta protested her government’s lack of real action to counter the climate crisis by not going to school and protesting outside the Swedish Parliament. Over a year later and 228 countries have formed their own #FridaysforFuture strikes, with 13 million people taking action to demand change.
Many of those people have been school or university students who have worked together to learn about climate change, ask questions, and push for better policies. They have used art as part of their activism, making placards, painting their faces and putting up banners to spread their message.
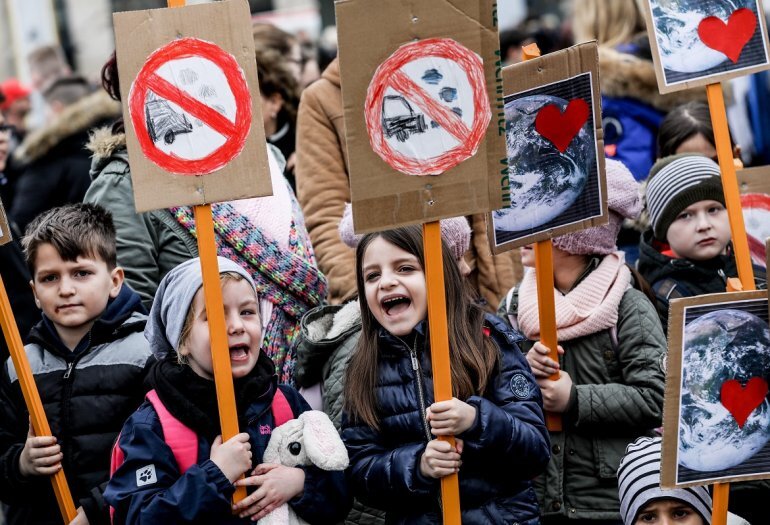
As the charity UNICEF points out “children are the least responsible for climate change, yet they will bear the greatest burden of its impact.” You can read about some of the ways young people are being impacted by changes to their environment, as well as how they are a key part of climate change strategy and response plans here.
With our DIY art kit you can make either a poster print or a collage that you can use to show your solidarity with climate refugees. Put it on a banner and take it to a school strike, customise a notebook to jot down your thoughts in or hang it up in your room. The visuals for this kit have come from Extinction Rebellion, a global environmental movement with three demands:
Government must tell the truth by declaring a climate and ecological emergency, working with other institutions to communicate the urgency for change.
Government must act now to halt biodiversity loss and reduce greenhouse gas emissions to net zero by 2025.
Government must create and be led by the decisions of a Citizens’ Assembly on climate and ecological justice.

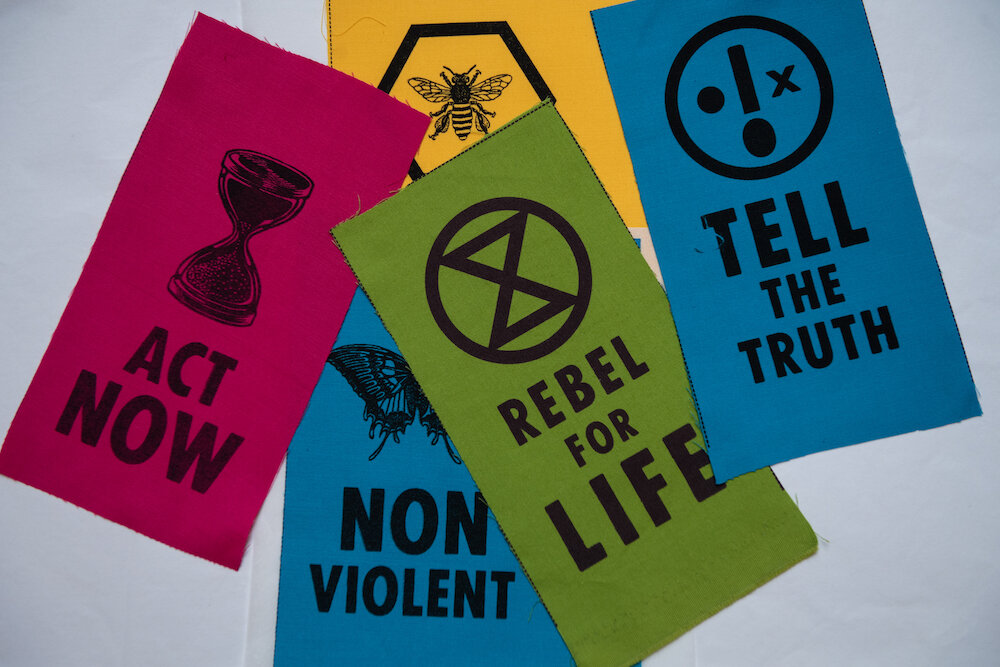
Extinction Rebellion have been noted for their iconic logo and typeface, bold use of colour, and people-led arts group. Read about their approach to design and protest here.
Once you’ve made your artwork you can take a picture of it and email it to info@ruyamaps.org or upload it to Instagram with @ruyamaps and it could be featured here.
Poster Print


What you will need:
A printed copy of the Extinction Rebellion image of your choosing
Masking tape
Tracing paper
Cartridge paper (or any other material you would like to print on to)
Scalpel
Cutting board
Pencil
Paint of at least two different colours and flat containers
Paint roller
Instructions:
Step 1
What do you want your print to say? Here are some things to think about:
What would you say to someone who has had to leave their home because of climate change?
Are there any facts that you would like people to know?
Have you heard a quote that has inspired you and that you would like to share?
Once you have thought about this you can come up with the message for your print. A short slogan works well as it is memorable and to the point. Examples of slogans include: “There is no planet B”, “The climate is changing, why aren’t we?”, “What I stand for is what I stand on”, “System change, not climate change.”
Step 2
Assemble your materials!
To create your print re-use as much as you can. Look out for used wrapping paper, newspaper, scrap fabric (such as cotton tea towels or pillow cases) and hold on to them. Make sure you take care of your paint brushes and sponges, cleaning them and letting them dry properly so you can use them again and again. If you are buying new paint, try to get natural paint which does not have chemicals and solvents.
Step 3
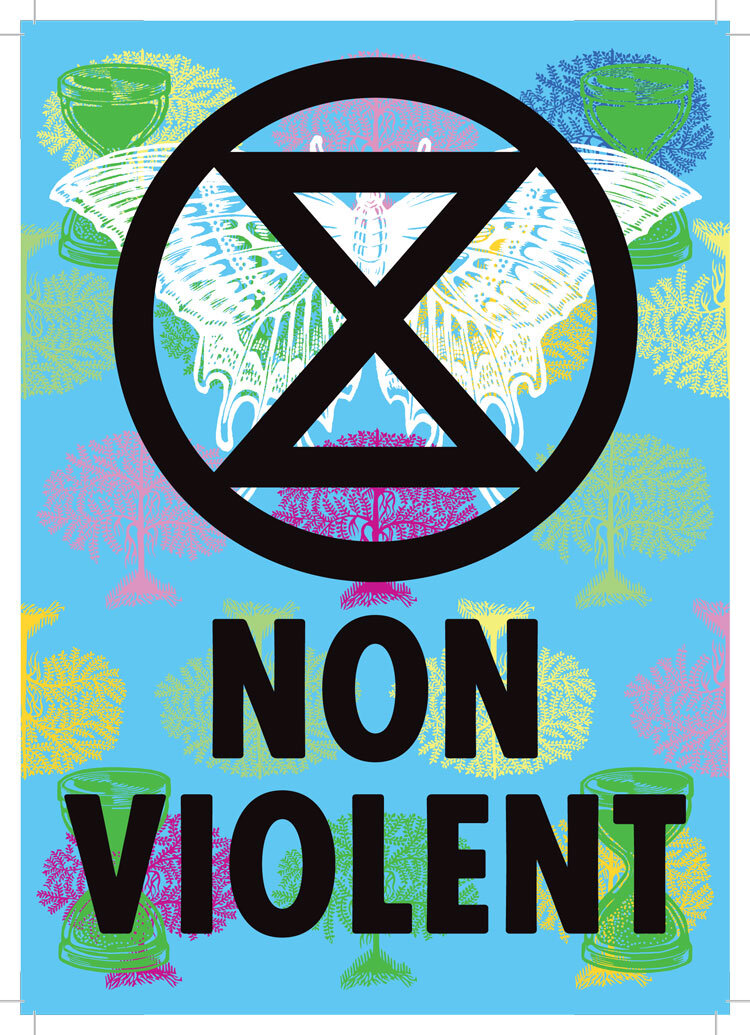
Pick a graphic design to form the background of your stencil. Print it out and lay a piece of tracing paper on top, you can fix it in place with masking tape so that it does not move around. Draw over all of the lines from the image onto the tracing paper with a pencil - do not worry about including all of the detail of the original woodblock image.
Step 4
Tape the tracing paper on top of the cartridge paper. Draw over all of the lines in pencil again, so that the outline of the design transfers on to the paper below. Remove the tracing paper and fill in any faint sections of line.
Step 5
Now you can start cutting out the negative space of the image (e.g. the black sections in the original image above). Be careful where you cut to make sure the lines still connect. After you have done this you will have made your stencil!
Step 6
Take the stencil and lay it on the material you want to print on to (paper, cardboard or fabric). Coat your roller evenly in one of the paint colours and roll it over the stencil.
Step 7
Repeat the previous step with a different colour. You can experiment with how you lay the stencil, for a shadow effect you can place it slightly to the side of the previous stencil, or to increase contrast you can print at a different angle.
Step 8
Paint a message on top of the background image you have just made. Now you have a poster print!
Watch a demonstration and instructions of Extinction Rebellion’s poster making process in their video:
Demonstration of poster making by Michael Collins from Paris 68 Redux
Collage Kit
What you will need:
Printed out versions of the images on the kit
Scrap pages from magazines
A thick backing material (paper or cardboard)
Scissors
Glue
Instructions:
Step 1
Pick which of Extinction Rebellion’s images you would like to use in your design from those included in the Poster Printing kit. Print them along with the collage kit images PDF, all one size or different sizes, and carefully cut around their outlines.
Step 2
Find a page from a magazine to use as your background - something with an abstract pattern would work well.
Step 3
Arrange the cut out images and play with the composition as much as you can. Could you layer the images? Cut them up further?
Can you re-use any other parts of the magazine, perhaps cutting out letters to add a message to your collage.
Step 4
Once you are happy with the composition stick everything in place and let it dry.